Crone’s Corner – Imbolc Ideas Having to do with Fire
by Starhawk, Anne Hill, and Diane Baker
Brigit Fire
Whether we circle around a hearth, outdoor bonfire, or kindle a blaze
in a cast-iron cauldron, in the season of Brigit we welcome the
return of light. Here are some suggestions for a safe and cheerful
blaze.
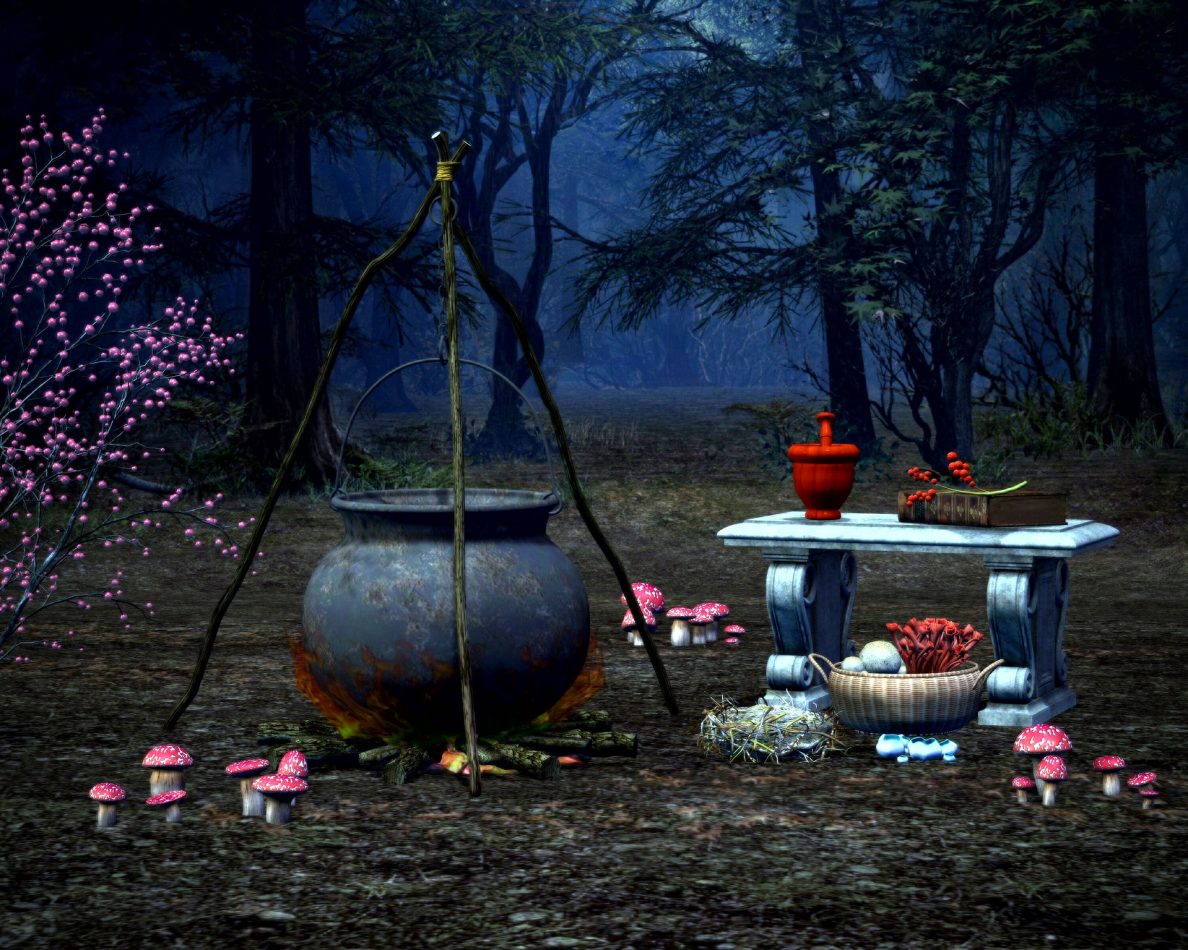
Cauldron Fire
You will need:
a cast-iron pot of any size
a lid that fits snugly, for putting out the fire
bricks, hotplate or other heat-resistant material to set the cauldron
on.
Epsom salts
rubbing alcohol
To keep the blaze going for 45 minutes in a five quart cauldron, you
need 1/2 gallon of Epsom salts and approximately 4 to 6 pints of
rubbing alcohol
Any cast-iron pot can be made into a cauldron with a fire of Epsom
salts and rubbing alcohol. This is a very safe blaze. Once the
cauldron is secured on a heat-proof surface, pour the Epsom salts in
until the bottom is covered, approximately 1 inch deep. Pour rubbing
alcohol over the salts until the alcohol is about an inch higher than
the salts. Hold a lighted match just above the alcohol. The liquid
will light and produce a strong orange flame. The flame burns cool,
unlike a wood fire, and it is difficult to burn things
in. When the flame gets low, cover to snuff out completely. Add more
rubbing alcohol to the cauldron and relight carefully. The warmer the
rubbing alcohol, the more quickly it ignites. This fire recipe leaves
a significant amount of sediment in the bottom of the cauldron. For
this reason, it is best to dedicate a pot strictly for cauldron use.
Kindling a Fire
This holiday is a good time to teach your older children how to set a
fire and kindle a blaze. Most children are eager to help lay a fire,
but may be too scared to light one. Using long matches often eases
their fear, and with supervision they can become quite proficient at
lighting fires. Children are great at gathering wood. A note of
caution about burning found wood, however: Make sure you inspect the
wood. Scrap plywood gives off toxic fumes, as does wood that has been
painted or coated with urethane. Make sure the wood you are burning
has not been coated with creosote. Creosote is a dark, often tarry
preservative and is commonly found on wood washed up on the beach.
Its fumes are toxic, and when burned, the treated wood creates a
smoky, stinky blaze. Creosote is easy to identify by its smell, which
resembles that of turpentine or paint thinner.
Egg Carton Fire Starters
You will need:
paraffin wax or beeswax (old candle stubs work great for this)
the bottom halves of cardboard egg cartons
sawdust, pine needles, scraps of cotton material, dry pinecones, or
shredded paper
scissors
a pot
Reuse all those old candle ends in this practical, convenient fire
project. Stuff each cardboard egg holder with sawdust or other
flammable material. Melt the wax in a pot, over low to medium heat.
When the wax is melted, carefully pour the wax into each depression
in the egg cartons. Make sure the wax does not overflow. Let cool.
After the wax has cooled down, use scissors to cut the fire starters
apart from each other, leaving the hardened wax inside its cardboard
shell. To use, set one or two fire starters in your fireplace,
surround with kindling and larger wood, and light. The fire starters
will keep burning long enough to light even the most stubborn logs.
Fire Safety
Never leave candles lit and a blazing fire unattended. It is a good
idea to have a pail of water or a fire extinguisher close at hand
when having a fire. If you often light fires at your home, try
growing an aloe vera plant, or keep some of the pure gel on hand in
the fridge, to use as first aid for burns. Fires at the beach are
popular in all seasons, and eliminate some of the risks of fires in
the woods or in the meadow. Few people are aware of how to extinguish
a beach fire safely, however. Covering up a beach fire with sand
actually insulates the coals, keeping them burning through the night.
Those hidden coals will still be red-hot in the morning waiting for
an unsuspecting person to step on them. Always douse a beach fire with
water – seawater works as well as fresh water – until there are no
more live coals. Wait for the steam to clear; then using a stick,
turn over all the coals to make sure no smoldering coals remain.
Candle Hat
One holiday tradition in Scandinavian countries is for the girls to
wear garlands in their hair that hold a circle of lit candles and
bless the light’s return. We’ve adapted this candle custom to honor
the returning light for Brigit. These paper hats are a simple and
safe variation. Draw an inner circle on a 9-inch paper plate, about
an inch from the rim. Next draw very light lines dividing the circle
into quarters. Draw four rectangular candle shapes, keeping the
dividing lines as guides for the candles’ centers. The rectangles
will meet in the center of the plate in a small square. Cut out the
candle shapes, preserving their connection to the ring at the rim.
This connection serves as the base of the candle. Bend candles
from their base to stand upright. Decorate candles with markers,
crayons and glitter. use the discarded plate material to cut flame
shapes. Color them bright flame colors, then glue or staple them to
the top of the candles.
Brigit Candles
You will need:
1 recipe salt dough clay
a bowl of water
8 1/2 by 11 inch sheet of paper, one for each candle
wax paper, cut into 8 1/2 by 11 inch sheets, one for each candle tape
1 T vegetable oil
toothpicks
small bowl
candle making supplies
Honor Brigit with new special candles. These candles use molds made
from coiled salt dough ropes so that each completely unique candle
bears the spiral imprint of the coil.
Taper Candles
Make ropes by rolling salt dough clay between your hands. Each rope
should be two or three feet long and 1/4 to 1/2 inch in diameter. If
younger children can’t manage such lengths, have them make smaller
segments that can be joined later with a little pressure and water.
Dip your fingers into the bowl of water occasionally if the dough
tends to crack. Roll the paper into a 1 inch wide cylinder and tape
it shut. Around this cylinder, tape a piece of wax paper. Coat the
wax paper with a thin layer of oil. Lightly moisten a salt dough rope
with water. Lay the paper cylinder on its side at one end of the
rope. Roll it along the dough, wrapping the rope up the cylinder
until it is six inches tall. Be sure the edges of the coiled rope
always touch. To provide extra support, at intervals stick several
toothpicks vertically through the coils. Make a bottom for the mold by
shaping another piece of salt dough into a 3/4 inch thick circle
that’s larger than the coiled tower in diameter. Moisten the bottom’s
surface, then carefully lift the coiled tower onto the bottom piece
and press gently to make a seal. Pull the paper cylinder out. This
slides out easily, leaving the wax paper. Remove it by gently tugging
on the wax paper with one hand while you support the clay coils with
the others. Inspect each part of the mold, looking for tiny cracks
where melted wax could leak. Press these shut. If the coils start to
sag, quickly fashion a paper cylinder around the outside of the coils
and tape it closed. Trim it to the same height as the clay, so it
won’t get in the way when you are pouring wax. Set the mold in
an empty bowl, in case wax leaks through. You are ready to pour.
Pouring the wax is thrilling. Go very slowly up each level to make
sure no wax is leaking through. If a leak appears, carefully pinch it
shut and pour again. Insert the wick. The wax will harden within an
hour, long before the clay dries. To unmold, just unwind the clay. If
some sticks, soak the candle in cool water and then gently rinse off
the clay. The candles have a wonderfully craggy spiral looping from
bottom to top, and burn with a lovely strong flame.
Beehive Candles
You can also make beehive candles with great success by coiling ropes
of salt dough in a small, deep bowl. A rice bowl is the perfect size.
It’s easier to start with making a spiral, about 3 inches across,
outside of the bowl, then transferring this into the bottom of the
bowl. Next coil the rope inside the bowl until you reach the top. The
candle is burned with the dome side up, so the wick has to be
extended through the wax at the bottom of the bowl. When the wax is
firm enough to insert the wick, use a slightly larger straw than
usual, and push it firmly through the candle, into the dough beneath,
straight to the bottom of the bowl. The candle unmolds easily: Lift
candle and mold from the bowl and uncoil the mold.
Brigit Candleholder
To echo the Goddess’s symbol of the serpent, make this candleholder,
which resembles a coiled snake. Follow directions for making a mold
for taper candles, with the following differences:
1. Size your holder by wrapping a paper cylinder around whatever
candle you intend to use. Remove candle before proceeding further.
2. Dough ropes should be about 1/2 inch wide and a foot long. If
candleholder is taller than 4 inches, use toothpicks for extra
support.
3. Make the bottom by coiling a rope into a small circle. 4. After
the paper cylinder has been removed, use your candle to gently test
of the open end of the candleholder is large enough to accommodate
the candle. If it’s too small, delicately press the opening wider. If
it’s too large, fill in with bits of salt dough.
5 Bake the holder as directed. Turn after the first hour to be sure
it does not stick to the pan.
6 Cool completely after baking. Then paint with snaky patterns,
finishing with eyes on the end of the top coil.
(from “Circle Round” By Starhawk, Diane Baker and Anne Hill
Courtesy of Witches Moon


You must be logged in to post a comment.