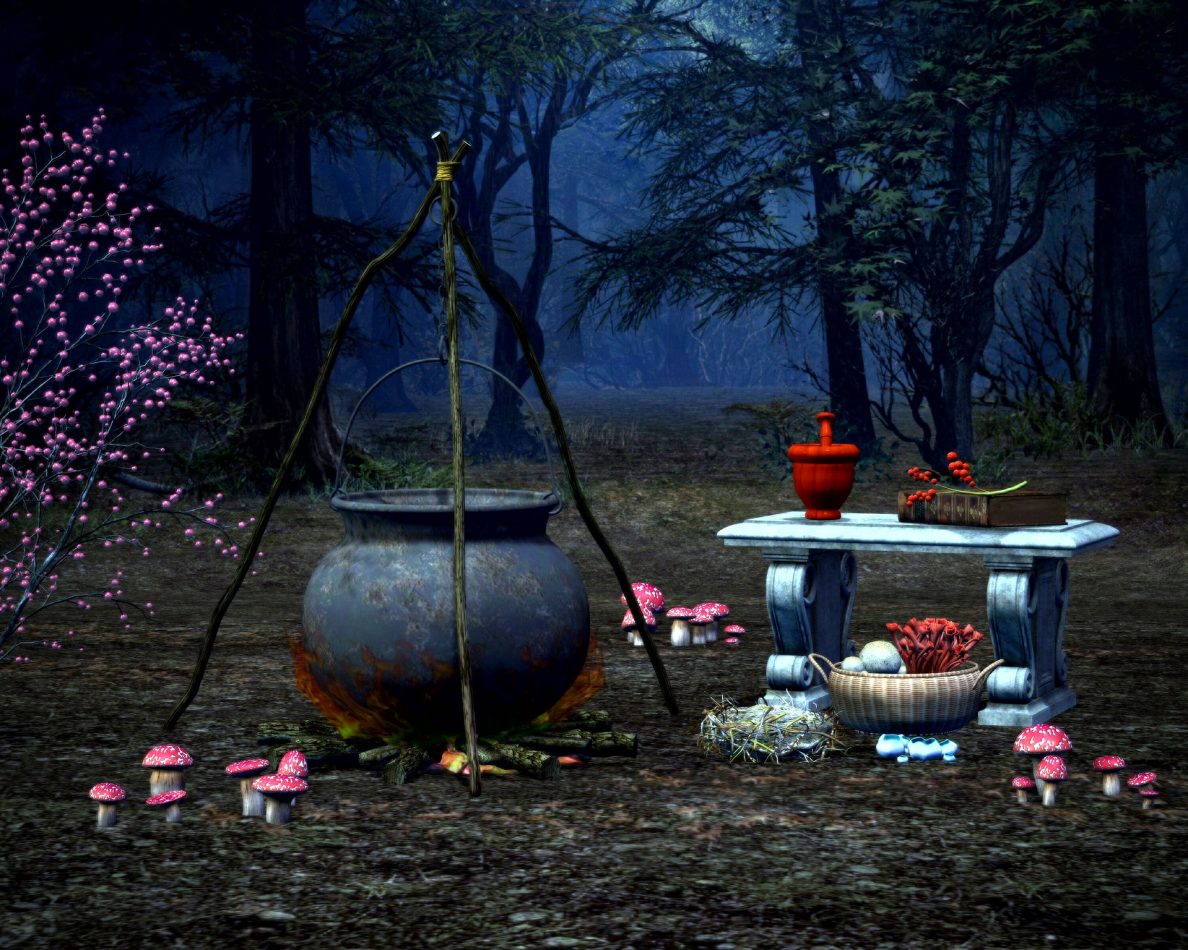
Many magickal people believe that once the tool has been cleansed and consecrated (dedicated to Spirit) and blessed (asking Spirit to fill the object with positive energy), the tool should also be “awakened” before each use. The activation process is often governed by the group that the Witch belongs to, meaning one coven may have a special chant while another group may “alert” the tool by tappping it one to three times on the altar, or they may simple pass hands over the tools and say, “Waken ye unto life.” No matter how it is achieved, this process serves as a trigger to the mind that the time for magick has begun.
The Ultimate Book of Shadows for the New Generation, Solitary Witch
Next, prepare and apply a cool mint pack for a refreshing interlude.
1 cup fresh mint leaves
1 cup cold water
In a blender blend mint leaves in cold water for 1 minute. Refrigerate for 10 minutes. Pour onto a clean hand towel. Lie down and relax while applying the pack to your face up for 10 minutes.
After the herbal wash, prepare an herbal facial steam and get ready to relax.
8 tablespoons of a combination of any of the following herbs: mint leaves, chamomile flowers, rose petals, scented geranium leaves, lemon verbena, lemon balm, lemon grass, thyme, sage eucalyptus, bergamot, jasmine, gardenia or honeysuckle flowers.
1 quart boiling water
Simmer herbs in a covered glass quart of water. After 10 minutes, uncover your herbal facial and cover your head with a towel to catch the steam. Steam your face and 5 minutes to remove any impurities.
Essential oils can keep your plants happy and healthy–just add formula to one gallon of water. Water plant well before applying solution. Shake bottle vigorously and spray your floral friends. Spray plants lightly every thirty days. If you don’t wish to make your own sprays, buy organic soap sprays at your local nursery.
Vervain, sometimes called verbena, and lemon verbena are often and easily consued. The two can each other: lemon verbena provides purification while vervain offers magickal protection.
Make a strong infusion by pouring boiling water over the combinec herbs. Add the water to your bath, together with a splash of vinegar and slices of lemon.
If you feel concerned about negative influences or thoughts coming your way, hang a small sachet of this in each window (you can hide them behind the curtains if you wish) and above each external door.
3 parts rosemary
2 parts fennel seed
1 part juniper
1 part dill seed
1 dried chili pepper
1 part the outer skin of garlic
1 part coarse salt (rock salt)
Place in a red cloth tied with a black cord. If you think you know who might be harbouring negative thoughts about you, then you can also place a small mirror facing outwards in the window which most closely points in their direction. This will reflect back any negativity.
Add six drops of essential oil of rose geranium and six drops of essential oil of lavender to a warm bath. Relax and luxuriate. You may also substitute or add geranium and lavender hydrosols.
Pour boiling water over bruised anise seeds to create an infusion. When the liquid cools, strain out the solids and add the infusion to your bathwater for enhanced psychic power and perception.
Make infusions of dried or fresh herbs and add in the bath
Add essential oils to the bath
Use a combination of fresh herbs and essential oils: although all are common garden plants, Melissa (lemon balm) is a notoriously rare and expensive essential oil.
Place 2 tablespoons of vervain in the coffee maker filter cup. Add a full pot of water. As the brew drips, concentrate on your wish and visualize it coming true. Chant:
Vervain, herb of wishes sweet,
Bring my wish now, I entreat.
Draw a warm bath and add the infusion to it. Completely immerse yourself nine times, saying with each immersion.
Wish, fly quickly unto me.
As I will, so mote it be!
Step out of the tub and allow your body to dry naturally.
Finely grind patchouli herb. Melt soap base. Add herb, honey, jojoba, fragrances, and dye. Whisk until near gel. Pour in love-themed mold. Cool. Remove from mold. Air-dry on rack for twenty-four hours. Store in Saran Wrap to help hold the scent.
This soap recipe is a great formula for kitchen cleanup. The mixture of tea tree oil and botanical provides a wonderful, natural antibacterial formula.
4 cups glycerin soap base
2 teaspoons dried basil
2 teaspoons dried oregano
2 teaspoons dried parsley
2 teaspoons dried sage
10 drops tea tree essential oil
4 vitamin E gel caps
Lemon, lime or orange fragrance
Dye to match fragrance
Grind herbs together. Melt soap base. Add tea tree oil and desired fragrance. Add dye. Cut gel caps and pour liquid into mixture. Add herbs. Whisk until near gel. Pour. Cool. Remove from mold. Wrap after one hour.
Materials Needed:
A wreath, preferably of grapevine
Any size Ribbon, of appropriate width.
On a 12″ wreath, you’ll want approx. 2 yards Dried flowers (optional)
Hot glue gun and sticks
This delightful creation is also very versitile. These wreaths are a sort of spell charm… allow me to explain. The color of the ribbon determines its purpose.
You could use light blue for a happy home or for healing, black for protection, purple for psychism or dreams… the possibilities are endless!
Cut the ribbon into five pieces, each one two inches longer than the inner diameter of the wreath. Now, lay a strip across and tack each end with glue.
Continue doing this with the other four pieces until you form the star on the back of the wreath.
Now, with the circular wreath and the ribbon star, you have the pentacle foramtion. Take it into your magick circle and charge it with its purpose. Then hang it where you will see it, or where its purpose is needed (a protection wreath would be nice on the back of a door
Floral wire
Brown floral tape
Small pot to put finished tree in
Floral foam to plant tree in
A nut (walnut or acorn or your choice; just a large nut)
Gauze material
Various herbs that symbolize wishes
Tags to label wishes
Thread or yarn (preferably white)
Fake green leaves that can be fastened to the branches
Fake flower buds
Fake full-bloomed flowers
Dried flowers (or something that looks like a withered flower)
Decorative moss or grass to put around tree’s base
Catalystic oil (such as dragon’s blood)
Blessing oil
Directions:
Create the basic shape of a tree with five branches with the floral wire, then wrap it with brown floral tape (or use paper mache) until it resembles a tree. Allow the tree to have roots that will stick into the floral foam, leaving enough room for them to encircle a nut of your choice. Over the course of the wheel of the year, you’ll use the tree to represent five wishes you make. Here are the seasonal suggestions for how to use the tree:
Yule: Take your nut and anoint it with catalystic oil, encouraging it to grow. The bare tree symbolizes the year’s newness, beginning of possibility, a blank slate to write upon.
Imbolc: Make your wishes. Figure out a good combination of herbs to represent five different wishes. It is suggested that you take very small quantities of each herb (a pinch) and put them in a very small mixing receptacle, such as the bowl of a candlestick, where they can be stirred (with a toothpick, a chopstick, or the point of a knife) and perhaps enhanced with appropriate oils. Take each mixture and put it in a little sheet of gauze material, make a tiny bundle out of it, and hang it with thread or yarn on one branch of the tree. Label each bundle so that you know which bundle represents which wish. (You can label them with initials or codes and have the more elaborate version of each wish hidden somewhere else, so that wherever your tree is in your house, people cannot snoop into the business of your wishes if they’d be so inclined). Anoint each branch with catalystic oil to encourage growth.
Ostara: Add little green leaves to each tree branch as a symbol of the wishes beginning to manifest. As you fasten leaves to each branch (with the help of floral wire or tape), think about that particular wish and what you’re doing to help it come true. Anoint each branch with catalystic oil to encourage further growth.
Beltane: Add small buds to each leafy branch, to symbolize the beginning of the fruits of your labor, a symbol of being on the brink of success. Anoint each bud with catalystic oil to encourage further growth.
Litha: Replace the small buds with fully flowered miniatures, as a symbol of fortune being in full flower. This is when the wishes should have manifested by, when your hard work has paid off. Anoint each flower with a blessing oil, for thanks.
Lughnasadh: Replace the flowers with dried flower buds, which look as though they are withered flowers. Touch each with blessing oil, acknowledging the “harvest” of your wishes.
Mabon: Take the withered flowers off and place them around the base of the tree as though they have fallen off. Touch each branch with blessing oil.
Samhain: Take the leaves off the branches and place them around the base of the tree as though they have fallen off. Remove all the bundles and tags and burn them, creating ashes. Save the ashes until next season.
Your second year of using the tree, you can replace the nut with a new nut on Yule, and plant the old nut outside. Also place the ashes from the Samhain burning of the herbs and scatter them in the tree’s pot, underneath the foam, as a symbolic fertilization of next year’s tree. The year after that, you can bury both the previous year’s nut and its ashes together, once you have a new set of ashes.
The Dream Catcher originated in the Ojibwa Nation and was adopted by the Native Americans of many different nations. Traditionally made on a willow frame with sinew strands, the finished item was hung over the bed and used as a charm to protect sleeping children from nightmares. The dream catcher wasn’t intended to last forever, but to dry out and collapse over time as the child it protected entered adulthood.
The Ojibwa believe that a dream catcher changes peoples’ dreams, allowing the good to be filtered through, and the bad to hang in the net and disappear in the light of day.
To make your own, you will need:
A supple piece of wood or branch,about 1m in length
4 yards / 12 feet of wool (or suede)
3 yards / 9 feet of string (or sinew / imitation sinew)
Beads
Feathers
Scissors
Glue
A Clothes Peg
The colour scheme is a personal choice.
Step One.
Bend the branch around into shape and bind the ends together with a dab of glue and some string.
Step Two.
Cut 8ft of the wool (or suede). Glue one end to the ring and clip in place with the clothes peg until the glue is dry.
Wind the strand around the frame until you reach the starting point, leaving the entire outer ring wrapped neatly before gluing into place; again using the clothes peg to hold it until it dries. Be careful not to twist the thread as it goes round, it must lie flat.
Step Three.
Tie one end of the string (sinew) to the ring and then make nine half hitch knots around the ring, spacing them around ½” to 1” apart. Make the last knot a little closer to the first – this will prevent a large gap forming. Make sure the thread is pulled snugly between the knots.
Step Four.
Make the next row of the web by tying the hitches into the middle of the pre-woven row. Continue weaving in the same way until you have a small hole left in the centre. Once finished, tie a double knot in the cord, add a tiny drop of glue to the knot to give it extra security. When the glue is dry, cut off the remaining thread as close to the knot as possible.
Step Five.
From your remaining wool (suede), cut a 12” piece and fold it in half. Tie a knot in the open end. At the top of the ring, attach the cord by slipping the loop end through the ring and then around the ring and over the knot. Pull the lacing tight to secure it in place.
Step Six.
Cut three 8” pieces of wool (suede). Tie two of them approximately one third of the way up the ring on each side, use a double knot and a small dab of glue to keep them in place. Slip on the beads in whatever order you’ve chosen, then secure with another knot and spot of glue. Take the last piece and attach any remaining beads or decorative piece, like a concho to the top middle of the ring.
Step Seven.
Finally, push two feathers up inside the beads on each piece of lacing. Glue the feathers if they’re loose.
To make larger sizes:
Follow the same instructions as above, but the materials needed will vary.
12 inch rings needs approx. 7 yards / 21 feet of wool or suede lacing to bind it
9 inch ring – approx 6 yards / 18 feet
6 inch ring – approx 4 yards / 12 feet
Remember that you will need extra suede for the laces and hanger.

You must be logged in to post a comment.